ART grinder V2 instruction manual. Thee manual is a dynamic manual, depending on the FAQ ART team will update the manual. We strongly advice to watch the movies.
Disclaimer
Products sold by ART Innovation are supplied from Sweden and EU under Swedish law and applicable EU legislation.
If a customer outside Sweden (including customers in the United States) purchases a product, the customer is considered the importer of record and is solely responsible for any import duties, taxes, and compliance with local laws and regulations.
The product is not certified or intended for use under U.S. standards (such as FCC, UL, or FDA). The customer is responsible for ensuring that the product may be legally used in their country.
ART Innovation Sweden AB disclaims any and all liability for claims, damages, or consequences arising from the use of the product outside the European Union, including but not limited to liability under U.S. Product Liability Law.
ART Grinder V2
Lorem ipsum dolor sit amet, consectetur adipiscing elit. Ut elit tellus, luctus nec ullamcorper mattis, pulvinar dapibus leo.
Impact box
The ART grinder is delivered with a customized impact box. The Box has space for you favorite additional tools.
1. First Use
Charge the battery fully, allow the charger to switch over to green light for fully charged.
Pick the ART out of the box, see video. The ART shall always be stored in it´s box without battery installed. Never transport the ART with battery installed to prevent fire hazard.
2. Change of inserts
Use gentle pressure with thumb and push each of the angle insert backwards, if the friction feels to high -use an Allen-key in the insert hole and pull/push out the insert from grinding machine lower plate. See movie ART Grinding change inserts
3. Prepare to grind
Allign the ART against the ski ensure no wax residuals are present on the ski edge. Try out a “dry” run to ensure the ART can move freely from the wises. Get e feeling of the thimb pressure needed to keep stability. Pressure is only the onsure bearing contact and angle guides contact to the base level, this means pressure should be about 3oDegrees towards ski center. The Center of gravity of the ART is balanced at a well evaluated force point over the ski base.
4. Basic grinding
Allow a smoother release of the grinding slider with finger. remove control finger completely from the grinding slider, any additional pressure or touching if the grinding slider during grinding process will destroy the dynamics of the machine and thereby the end result.
See ART Grinding basic movement movie.
5. Calibration and disc allignment (Expert use)
In case the ART grinder has been exposed to excess forces like drops a calibration might be necessary. We strongly advise to contact ART or reseller for re-calibration but as engineers we are we alos want to explain how to salve the problem.
a. Place a caliper according to picture to se the gab between the grinding disc edges towards caliper. If the gap differs a calibration can be made.
b. On the side with most gap release the allen bult gently.
c. Place the small wrench supplied in the box below the bearing and turn clockwise, the nut is excenter designed and will move the bearing position back or forth.
d. Tension the allen bolt gently and redo caliper control
e. Repeat until end result is acceptable with as equal gap between disc and caliper as possible.
f. Expert settings like leaading and trailing grinding is made by adjusting the wheel grinding surface towards the edge by adjusting bearing positions. (ONLY for extreme conditions or expert requirements, we strongly advice to stay on factory advised settings)
6. Disc Maintenance
After every use or when needed use a dust blower to remove the dust from the machine. Particles from grinding are potantial to catch fire if not cleaned. Never use any liquids to clean the grinder only air , make the cleaning preferable outside in open air t o avoid inhaling the particles from the grinding.
Clean only the grinding disc with water and refresh stone from ART or Diabor to achieve correct cut. The dress-up stone is used with water and will restore and clean grinding wheel, moisture the stone and put gentle pressure towards rotating grinding wheel. Article: “ART Cleaner Blue”
Do not use wax off liquids will degrade the life time of the grinding wheel.
Clean the guides from wax by paper, do not use any abrasive tools as the machine grinding angle will be altered by dirt.
6.1 Cleaning the ART
Keep the ART by using compressed air or a high speed air fan to avoid fire hazard and damage to the ART functionality. Only clean outdoor to prevent the dirt from entering the air indoors.
6.2 Release and clean disc
Take a firm grip of the disc from the bottom of ART with one hand, release the nut by rotating counter clockwise. Be assure stay over soft material so the disc is not dropped to any hard surface. Wobble carefully the disc from its center piece. The disc has a very snug and precise fitting towards the center piece to avoid vibrations. Clean the disc gentle wit ha brush. When assembling the disc, use a small amount of PTFE grease if the fitting are is dry.
6.3 Deep cleaning
Occasionally deep clean the ART by using a brush. release the disc and clean the areas with a small brush, when attaching the grinding wheel back tighten the nut before starting the ART. IF not tightening the torque of the machine will tighten the nut extremely hard and thereby difficult to release.
7. Safety
5. Security
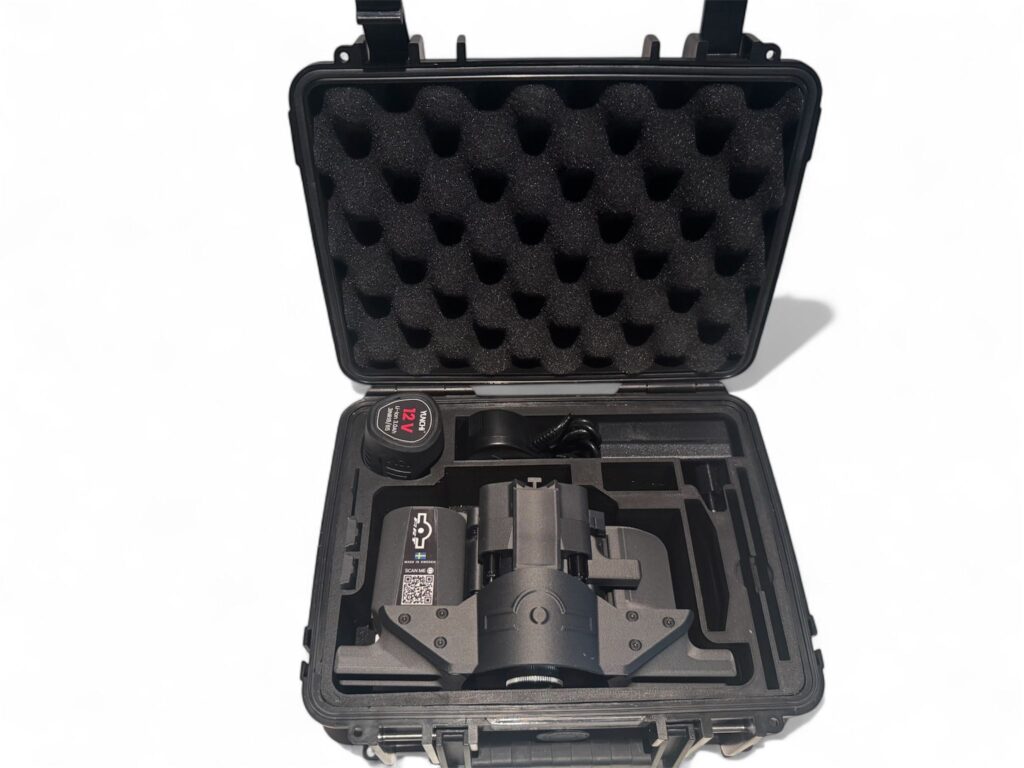
Always store the machine in the box when not used, this secures the battery from being left in the machine and cause unwanted start and power peaks in the engine. If the disc is stuck into an object the 10A fuse will prevent from serious damage.
Always use with correct level of breathing protection over mouth and nose.
Always use dry
Always use cut proof gloves as the edge will become extremely sharp
![]()
Always handle ski with care when turning and moving
